Whether you are a skilled driver or a novice driver, you will definitely be interested in the perfect car audio navigation system, which has an upgraded feature in current stereo navigation systems. Especially for novice drivers, a reliable car stereo is necessary to give you a good driving experience. But most people may find it difficult to install a car radio without professional help. To solve your problem and save your time, here is 2010 2011 2012 2013 VW Volkswagen Sharan Car Stereo Radio Installation Guide from Seicane. If you have the same model car and plan to replace the factory radio yourself, you can take it as a reference.
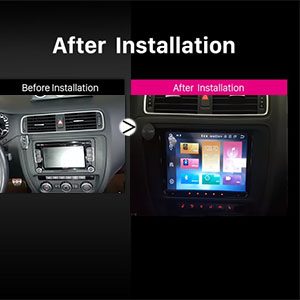
2010 2011 2012 2013 VW Volkswagen Sharan car stereo Radio after installation
What you should know before installation:
1. Please disconnect the power before the installation.
2. Please prepare a lever and a screwdriver before the removal and the installation.
3. Please keep all the separate parts from the car. Please take great care of the dashboard to avoid scratching it during its detachment and installation. Please keep handy any parts from the car and make use of all the original screws from the car as much as possible. so each related part of the unit can be fixed securely.
4. For your convenience, here’s the recommended tools for removal and installation from Seicane, please check for more details: http://www.seicane.com/car-dvd-dismantling-device-srd-400
Installation and Upgrade Instruction on 2010 2011 2012 2013 VW Volkswagen Sharan GPS Radio Audio System
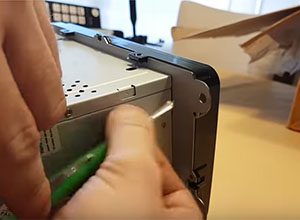
1. Remove the screws behind the screen.
Remove the screws behind the screen.
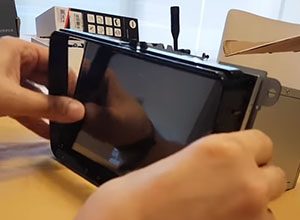
2. Remove the screen border.
Remove the screen border.
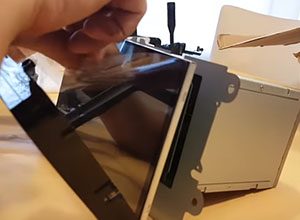
3. Remove the screen protector and install border and screws back.
Remove the screen protector and install border and screws back.
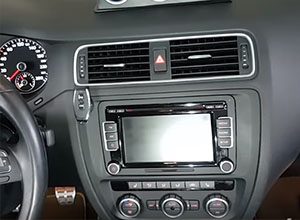
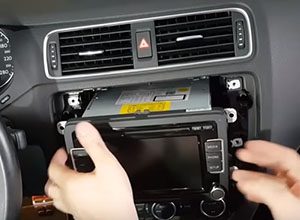
4. The dashboard of the original car.
The dashboard of the original car.
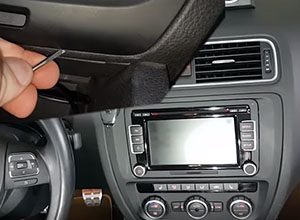
5. Pry the decorative strip and take it out.
Pry the decorative strip and take it out.
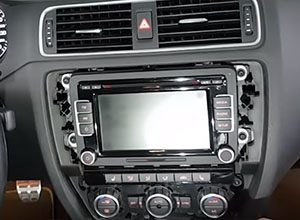
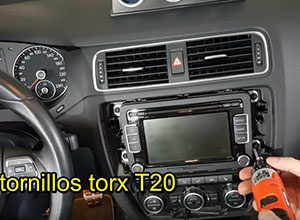
6. Undo the retaining screws from the hosting machine.
Undo the retaining screws from the hosting machine.
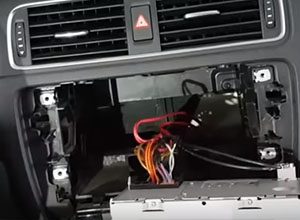
7. Remove and unplug the hosting machine and then take it out.
Remove and unplug the hosting machine and then take it out.
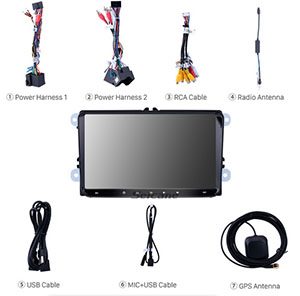
8. Check all the accessories for the new Seicane car radio.
Check all the accessories for the new Seicane car radio.
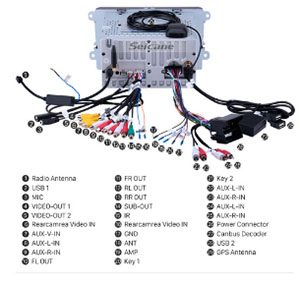
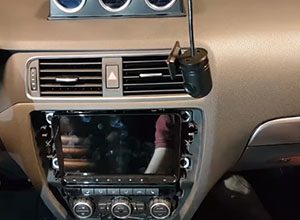
9. Plug in all the connection lines and install the new Touch Screen.
Plug in all the connection lines and install the new Touch Screen.
10. Plug in all the connection lines and install the new camera.
Plug in all the connection lines and install the new camera.
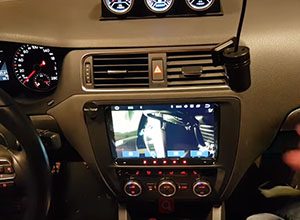
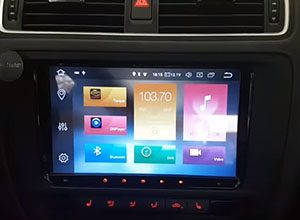
11. Turn on the new Seicane car radio to have a careful check if everything works well. If it doesn’t, please check whether all the cables are connected correctly.
Turn on the new Seicane car radio to have a careful check if everything works well. If it doesn’t, please check whether all the cables are connected correctly.
12. Put the new Seicane car radio into the dash.
Put the new Seicane car radio into the dash.
13. Put everything into their original place. All the installation is done.
The above are the specific steps to install the 2010 2011 2012 VW Volkswagen Sharan radio system, I hope to help you, but before installation, please read each detailed step in the manual. If you have any questions during the installation, please do not hesitate to consult your dealer for professional help. If you are planning to change a brand new navigation system for your car and don’t know how to choose it, I recommend 2010-2013 VW Volkswagen Sharan GPS Radio Audio System to you here.More details, please click here:
This 9-inch Android DVD radio car navigation head unit allows you to enjoy long-distance car travel for the whole family. This entertainment system comes with a built-in navigation system that guides you to hard-to-find locations. In addition, this car stereo is also equipped with Bluetooth. This entertainment device has auxiliary inputs as well as a USB port and SD card slot for a variety of input options.
Why not but it right now?
Recent Comments