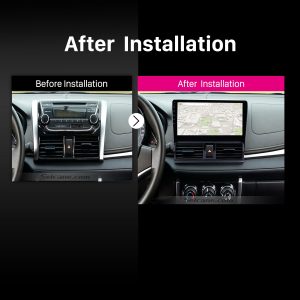
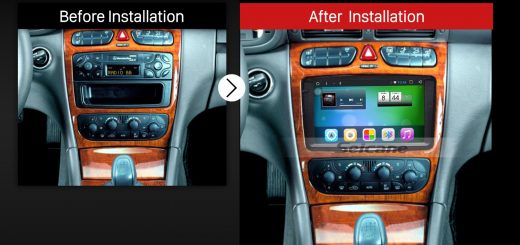
There is no denying that with an ideal car radio in your car, your driving experience will be improved to a large extent. However, your factory radio may not satisfy you since it has been used for a long time and its performance is not high. Under this circumstance, you can think about replacing your factory radio with a new aftermarket car radio. While for the installation, if you would like to gain a general understanding of it, you can refer to a related installation guide. The following is a 2013 2014 Toyota Vios car radio installation instruction from Seicane which can be taken as your reference.
Here are some tips before the installation:
1. Please disconnect the power before the installation.
2. Please prepare a lever and a screwdriver before the removal and the installation.
3. Please keep all the separate parts from the car. Please take great care of the dashboard to avoid scratching it during its detachment and installation. Please keep handy any parts from the car and make use of all the original screws from the car as much as possible. so each related part of the unit can be fixed securely.
4. For your convenience, here’s the recommended tools for removal and installation from Seicane, please check for more details: http://www.seicane.com/car-dvd-dismantling-device-srd-400
2013 2014 Toyota Vios car radio installation instruction
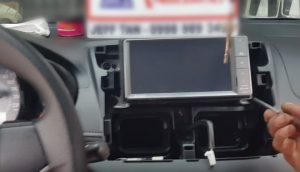
1. The original car radio.
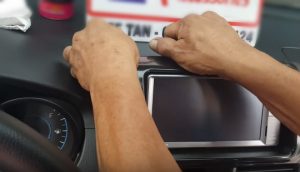
2. Remove the panel with your hands,please use a plastic removal tool if necessary.
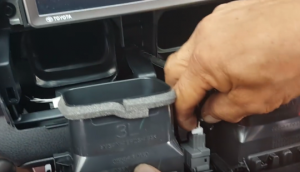
3. Disconnect the connector at the back of the air vent.
4. Use a screwdriver to remove four screws that are holding the original car radio.
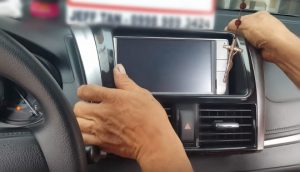
5. Gently take out the original car radio from thedashboard.
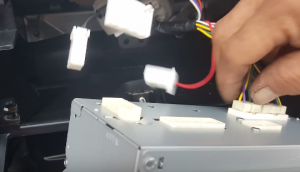
6. Unplug the connectors and cables at the back of the original car radio.
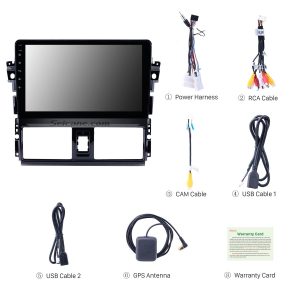
7. Check all the accessories for the new Seicane car radio.
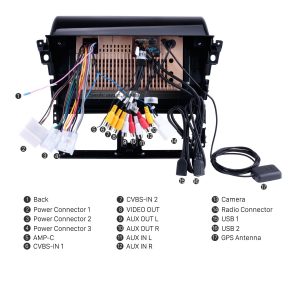
8. Connect the harnesses to the back of the new Seicane car radio.
9. Connect the Seicane car radio to your original car radio’s plugs.
10. Put the new Seicane car radio into the dash.
11. Turn on the new Seicane car radio and have a comprehensive check if it works well.
12. Install 4 screws back to their original position.
13. Install the trim panel back to its original place.
Wish you learn some useful skills from the above installation steps. If you meet any problems you don’t know how to deal with, please don’t worry. You can seek help from your dealer, someone experienced or a professional. Or if you still think it hard to install the new car radio, you can straightly arrange a professional technician to help install the new car radio. Anyway, before installation, please do carefully select an ideal car radio for your beloved car. If you have no ideas, you can refer to the following link which is a smart 2013 2014 Toyota Vios car radio from Seicane. For more details, please click:
Loaded with the stable Android 6.1 operation system and a high-quality quad-core CPU processor, this car radio from Seicane can be regarded as one of the best replacements for your factory radio.
When you get it installed in your car, you will find that almost all your different needs can be met since it comes with a wide range of comprehensive features, including 3D GPS navigation, FM/AM radio tuner, Bluetooth hands-free calls, Bluetooth streaming music, file management, USB & SD card connection, etc.
Thanks to the turn-by-turn directions and voice prompts provided by the high-end GPS navigation system, you are able to know your current locations and find the right way to reach your ideal destinations.
Besides, this car radio also comes with entertainment features to bring you fun.
Just quickly add this car radio to your shopping cart if you like it.



Recent Comments