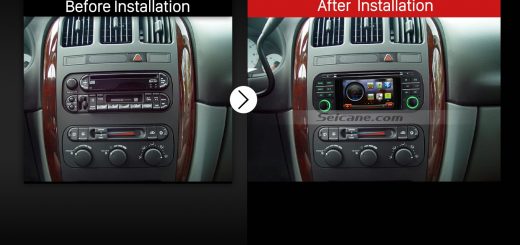
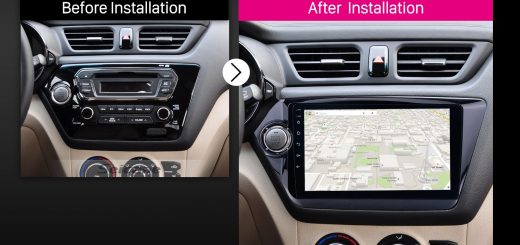
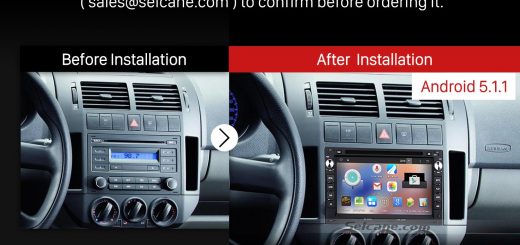
Here comes an amazing 1998-2002 Mercedes Benz A Class W168 head unit from Seicane after installation. A new head unit with a wide range of features can bring you a great deal of convenience and new experience. Therefore, more and more car owners choose to upgrade their factory radio for more features. If you also have such a plan, it’s suggested you find the installation instruction to help you. The following is the step-by-step Mercedes Benz A Class W168 head unit installation guide for your reference.
Tips about the installation:
1.Please disconnect the power before the installation.
2.Please prepare a lever and a screwdriver before the removal and the installation.
3.Please keep all the separate parts from the car. Please take great care of the dashboard to avoid scratching it during its detachment and installation. Please keep handy any parts from the car and make use of all the original screws from the car as much as possible. so each related part of the unit can be fixed securely.
4.For your convenience, here’s the recommended tools for removal and installation from Seicane, please check for more details: http://www.seicane.com/car-dvd-dismantling-device-srd-400
1998-2002 Mercedes Benz A Class W168 head unit installation guide
1.The original car radio.
2.Remove your shifter boot.
3.Remove the panel.
4.Release the plastic tabs, then remove two screws behind the plastic cover.
5.Remove the bottom plastic part.
6.Unscrew the screw holding the plastic panel.
7.Remove the plastic panel.
8.Remove the screw at the bottom plastic panel.
9.Unscrew the screw holding the bottom plastic panel.
10.Remove the bottom plastic panel.
11.Turn the vent panel up.
12.Remove the screws holding the vent panel.
13.Take the vent panel out of the dashboard.
14.Remove the panel covering the car original radio.
15.Disconnect the connectors at the back of the panel.
16.Remove the screws holding the original car radio.
17.Gently take the original car radio out of the dashboard.
18.Disconnect the connectors at the back of the original car radio.
19.Check all the accessories for the new Seicane unit.
20.Connect the harnesses to the back of the new Seicane head unit.
21.Connect the Seicane head unit to your original car radio ‘s plugs.
22.Put the new Seicane head unit into the dash. Then turn on the new Seicane head unit to have a careful check if everything works well. If it doesn’t, please check whether all the cables are connected correctly.
23.Put everything into their original place.
That’s all the installation guide for Mercedes Benz A Class W168 head unit. If you have any question, you can consult your dealer. If you don’t have any experience on the installation, you can go to a head unit upgrade center or ask a professional to help you. If you don’t have a suitable head unit yet, I’d like to recommend an intelligent Mercedes Benz A Class W168 head unit from Seicane to you. Here’s the link, please click:
Keeping your steering wheel control still working, this 1998-2002 Mercedes Benz A Class W168 head unit with the advanced bluetooth module built in enables you to wirelessly sync with your mobile phone to make and receive hands-free calls for security and stream music for pleasure. You won’t get lost any more in an unfamiliar place with this worldwide GPS navigation system on all your trips.
Just take your driving life to next level with this fantastic 1998-2002 Mercedes Benz A Class W168 head unit on all your trips. Good luck to you!


Recent Comments