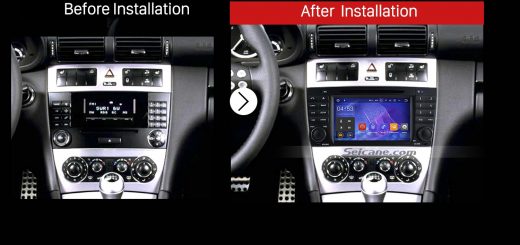
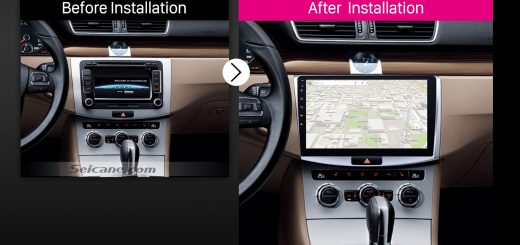
Do you feel bored when you drive a car with the old factory radio? Do you want to enjoy the convenience and comfort from the new head unit? It’s time for you to replace your old factory radio to the new head unit. Here I’d like to introduce a detailed installation guide for 2013 2014 Toyota COROLLA right head unit from Seicane. If you are the car owner of Toyota COROLLA, you can take this article as reference.
Before and during installation, you should notice:
1.Before connecting, please make sure the ignition is off to avoid short circuit.
2.Ensure connect the yellow and red power cable at last.
3.Ensure that all loose wires are isolated with electrical tape
4.Ensure don’t tangle the wire when tighten the moving parts(Such as seat rails).
5.Ensure that all ground is connected to the same place.
6.Using the improper fuse may cause damage of fire, so when replace the fuse, please consult the professional.
7.For your convenience, here’s the recommended tools for removal and installation from Seicane, please check for more details: http://www.seicane.com/car-dvd-dismantling-device-srd-400
2013 2014 Toyota COROLLA right head unit installation guide
1. The original car radio.
2. Pry off the vent panel with a plastic tool and pull it out.
3. Set the vent panel aside and pry down the trim panel as the picture shows, then disconnect one side harness of the trim panel.

3-1. Set the vent panel aside and pry down the trim panel as the picture shows, then disconnect one side harness of the trim panel
4. You can see two 10mm bolts in the position as the picture shows, remove them. And do the same in left side.

You can see two 10mm bolts in the position as the picture shows, remove them. And do the same in left side
5. Pull out the radio slowly and watch out the harnesses behind it.
6. Disconnect harnesses behind the original radio.
7. Check all the accessories for the new Seicane car radio.
8. Connect the harnesses to the back of the new Seicane car radio.
9. Connect the Seicane car radio to your original car radio ‘s plugs.
10. Turn on the new Seicane radio to have a careful check if everything works well. If it doesn’t, please check whether all the cables are connected correctly.
11. Put the new Seicane radio into the dash.
12. Put everything into their original place. All the installation is done.
That’s all the detailed installation guide for a 2013 2014 Toyota COROLLA right head unit and wish you can get some help from it. If you find the picture shown above is different from your dashboard, please rest assured that the installation guide is much same. If you have any problems, please feel free to the dealer or professionals ask for help.
In addition, you have to check the new head unit whether can work well in your car or not. If you don’t have the one, you can refer to this link. It’s a great 2013 2014 Toyota COROLLA right head unit from Seicane.
This aftermarket car multimedia GPS navigation system is available to replace the stock radio for 2013 2014 Toyota COROLLA for right driving particularly. Loaded with Android 5.1.1 and 1.6 GHz Cortex A9 Quad-core CPU, this latest car stereo is prevailing for Toyota COROLLA owners at present. The Bluetooth for hands-free calls and streaming music is equipped in this unit, so that you can pair your Bluetooth-enabled with this unit to have a safe and cheerful driving. Besides, you will find it much comfortable to watch at the large 9 inch HD 1024*600 multi-touch screen. Have a different driving with this amazing unit with you on your all trips!


Recent Comments