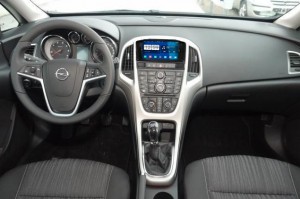
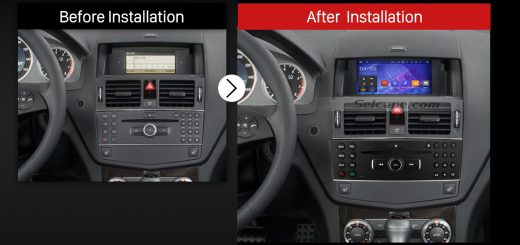
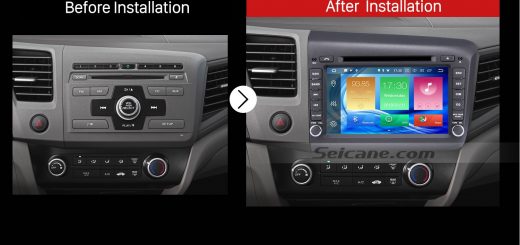
Nowadays, Opel Astra J is becoming a hot choice for most people. At first you may think whole Opel Astra J is perfect. After few month, you may find the original 2011-2013 Opel Astra J Radio hard to meet all your needs. So, replace 2011-2013 Opel Astra J Radio is neccssary, you can do this by yourself. Here is Seicane radio after installation.
Before the replacement, you should know whether the new aftermarket radio fits your car well. This is most important thing you should do first. I’d like to introduce a good unit of Seicane which fits 2011-2013 Opel Astra J to you:
This Opel Astra J Radio has intelligent android 4.4 operation system, high quality RK PX3 with 1.66 GHz frequency Quad-core CPU, and 7 inch HD 1024*600 Pixels multi touch screen with smooth operation high sensitivity.
Loaded with a lot of upgraded software and hardware components, this remarkable 2011-2013 Opel Astra J Radio will bring you a totally different driving experience for you. You can enjoy a visually radiant display and an easier operation on its 7 inch multi-touch screen with 1024*600 pixel resolution. The built-in GPS can support updating the latest traffic information and provide turn-by-turn voice direction for you to get to the desired location. You can enjoy playing DVDs, VCDs, bluetooth music, FM/AM radio tuner to enrich your journey. You can also connect your bluetooth-enable cell phone with this unit for hands-free calls and streaming audio to ensure a safe and cheerful journey. Your steering wheel control can still work after installation.
2011-2013 Opel Astra J Radio installation
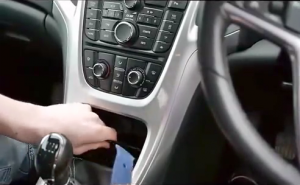
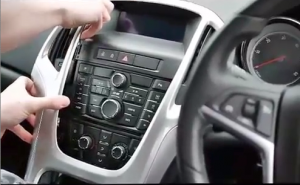
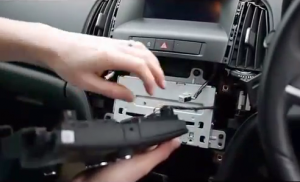
1)First remove the panel as the picture shows with a plastic tool.
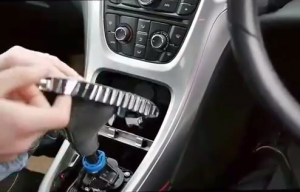
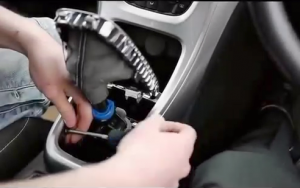
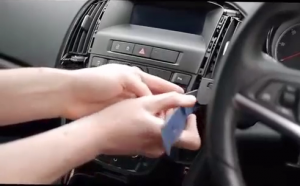
2)Then pull out the shifter cover.
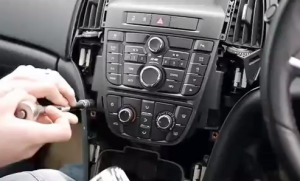
3)Remove two screws of each side with a Phillips screwdriver.
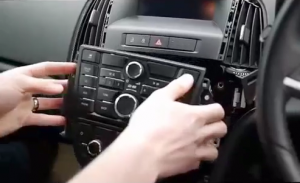
4)Now remove the whole trim panel and set it aside.
5)Pry two chips at each side of the center control.
6)Remove eight 10mm bolts holding the center control panel in place.
7)Pull out the center control panel.
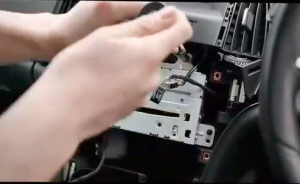
8)Unplug the connectors behind it.
9)Remove two 10mm bolts.
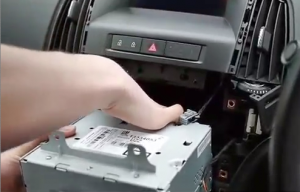
10)Pull out the factory radio and unplug the connectors behind it.
11)Make antennas and cables connected step by step as installation instructions show,and you should be very careful when you are doing this for it will affect whole procedure.
12)Connected the new Seicane radio to your Opel Astra J, you should check whether your connections are correct, the new unit is in right position,and you’d better have a tidy for the cables.
13)If everything is OK, firm bolts and screws then make trim panel back on your new Seicane aftermarket radio.
And now can you replace you original Opel Astra J Radio by youself? Hope you can enjoy your Opel Astra J via your new radio!

Recent Comments