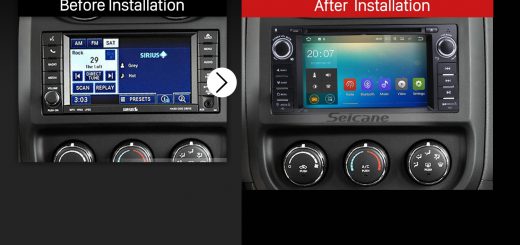
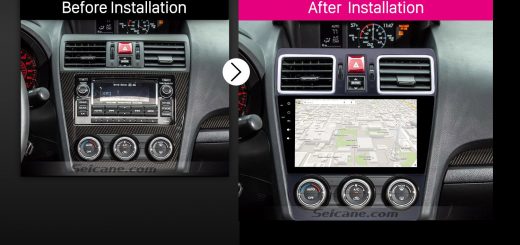
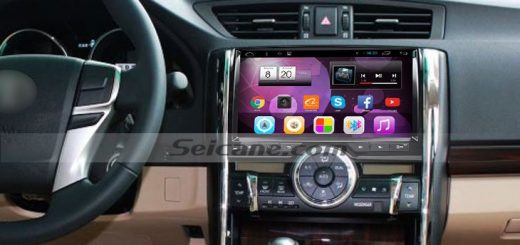
With many features integrated in one car radio, such as GPS navigation function, DVD playback, Bluetooth hands-free calls and music streaming, FM/AM radio, etc, an aftermarket head unit has become more and more popular with car owners. When you get a beloved car radio, you can either go to a car radio upgrade center or ask a professional to install it in your car. And a detailed installation guide can be actually much helpful for you. Here I’d like to share a professional SEAT EXEO head unit installation instruction from Seicane with you for your reference.
Precautions for this installation:
1.Before you start up any work, park your car well and unplug the negative power cable to avoid any danger.
2.Please make sure that all fastened wires are isolated with electrical tape.
3.Please make sure the ignition is off to avoid short circuit.
4.For your convenience, here’s the recommended tools for removal and installation from Seicane, please check for more details: http://www.seicane.com/car-dvd-dismantling-device-srd-400
SEAT EXEO head unit installation guide
1.The original car radio.
2.Insert four removal keys into the holes of the original car radio.
3.Release the original radio by pulling the removal keys.
4.Gently take the original car radio out of the dashboard.
5.Disconnect the connectors of the back of the original car radio.
6.Check all the accessories for the new Seicane head unit.
7.Connect the harnesses to the back of the new Seicane head unit.
8.Connect the Seicane head unit to your original car radio ‘s plugs.
9.Turn on the new Seicane head unit to have a careful check if everything works well. If it doesn’t, please check whether all the cables are connected correctly.
10.Put the new Seicane head unit into the dash.
11.Put everything into their original place.
With the help of the detailed instruction above, can you finish the installation of the SEAT EXEO head unit in your car? If not, it’s strongly suggested you have a professional install it. If you have any question during the whole process, you can turn to your dealer for help.
Before you start to install your new head unit, it’s important for you to make sure your new unit can fit your car without any gap, so that it can work well with your car. If you have no idea about this, you can refer to this amazing SEAT EXEO head unit from Seicane. For more details, please click:
With the user-friendly interface, you can enjoy the clearer viewing and easier operation on the large 7 inch multi-touch screen in this attractive SEAT EXEO head unit. Take this latest GPS navigation system on all your trips, you can easily find your way to any unfamiliar location without getting lost any more. To keep safer on the whole driving, you can make and receive hands-free calls by wirelessly connecting your Bluetooth-enabled mobile phone with this unit.
Wish you have a wonderful upgrade and enjoy your new SEAT EXEO head unit. Good luck to you!


Recent Comments