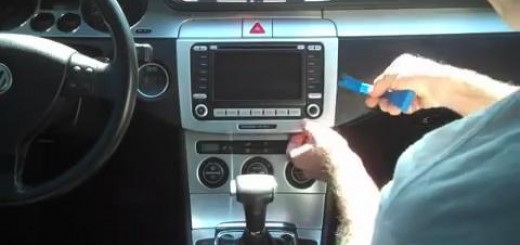
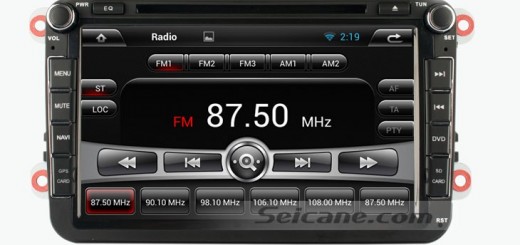
To listen to your favorite songs on the way to your destination, you can turn on your car radio. And to get the most accurate direction to your destination, you can count on a GPS navigation system. If your factory radio can’t support both functions, you can easily upgrade it with a new aftermarket radio. To install a new radio, a step-by-step installation guide can be helpful for you. If you also have the same dashboard as the picture below, then you can follow this detailed 2010 2011 VW Volkswagen Polo(MK5) head unit installation guide from Seicane.
Before and during installation, you should notice:
1.Before connecting, please make sure the ignition is off to avoid short circuit.
2.Ensure connect the yellow and red power cable at last.
3.Ensure that all loose wires are isolated with electrical tape
4.Ensure don’t tangle the wire when tighten the moving parts(Such as seat rails).
5.Ensure that all ground is connected to the same place.
6.Using the improper fuse may cause damage of fire, so when replace the fuse, please consult the professional.
2010 2011 VW Volkswagen Polo(MK5) head unit installation guide
Step1: Remove the trim panel.
Please pry around the trim panel with a lever. While prying, please loosen the trim panel with your one hand. When the trim panel is loosened, please remove the trim panel off the dashboard and gently place it aside for further removal.
Step2: Remove the four screws on the radio.
Please unscrew the four screws which are holding the radio at four corners with a screwdriver. Then keep them well in a small box for the installation of a new head unit.
Step3: Take the factory radio out of the dash.
After the four screws are unscrewed, you can easily pull the factory out of the dash.
Step4: Disconnect the wiring harness.
Before you put the factory radio aside, please disconnect the wiring harness at the back of the factory radio.
Step 5: Connect the new Seicane unit to the original wiring harness as the user manual or the wiring diagram shows.
Step 6: Turn on the new Seicane unit to have a careful check if everything works well. If it doesn’t, please check whether all the cables are connected correctly.
Step 7: Put the new Seicane unit into the dash and install the four screws.
Step 8: Install the trim panel into its original place.
If you find the dashboard shown in the guide above is different from yours, please don’t worry. The installation is similar, you can still take it as a reference. It won’t have much impact on the whole. If you encounter any question, you can ask your dealer or a professional for help. Besides, you need to make sure you have a suitable unit for your car. If you don’t have one, I’d like to share a modern 2010 2011 VW Volkswagen Polo(MK5) head unit from Seicane with you, please click for more details:
Keep safer and more cheerful with the advanced bluetooth technology which is built in this top VW Volkswagen Polo(MK5) head unit. Integrated with a precise GPS navigation system, this unit can provide lane assist, 3D street view, landmark display, route planning, turn-by-turn direction and voice prompts for you to easily find your way to the destination with ease.
To get to your desired destination with ease, this intelligent VW Volkswagen Polo(MK5) head unit is just your best choice. Good luck to you!


Recent Comments