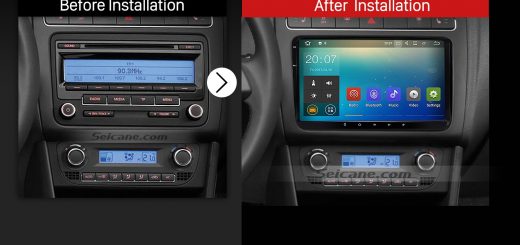
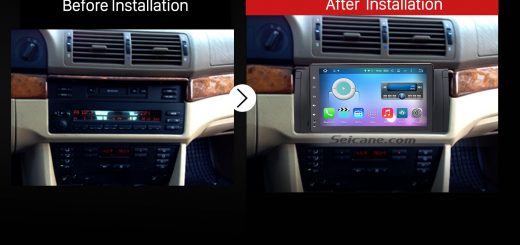
Taking a multifunctional car head unit along with your journey can not only guide you to your ideal destinations accurately and punctually but also entertain both yourself and your passengers. Some car owners may think it too complicated to install a new head unit for your beloved car. As a matter of fact, the installation is not too complicated . This article mainly introduces that how to install a 2009-2012 Hyundai H1 head unit. If you own such a vehicle type, you can refer to the following related installation guide.
Please notice before the installation:
1.Please apply the parking brake and remove the negative cable on the vehicle battery before the removal to ensure safety.
2.A lever and a screwdriver need to be prepared before the installation.
3.For your convenience, here’s the recommended tools for removal and installation from Seicane, please check for more details:http://www.seicane.com/car-dvd-dismantling-device-srd-400
2009-2012 Hyundai H1 head unit installation guide
1.Pry the plastic panel with a removal tool.
2.Remove the panel, and disconnect the connectors at the back of the panel.
3. Unscrew three screws securing the panel with a screwdriver.
4. Pry the trim panel shown as below with a removal tool.
5.Remove the trim panel, then disconnect the connectors at the back of the panel.
6. Unscrew all screws securing the original head unit with a screwdriver.
7. Gently take the factory radio out of the dashboard.
8. Disconnect all connectors at the back of the original head unit.
9. Check all the accessories for the new Seicane head unit.
10. Connect the harnesses to the back of the new Seicane head unit.
11. Connect the Seicane head unit to your original head unit ‘s plugs.
12. Turn on the new Seicane head unit to have a careful check if everything works well. If it doesn’t, please check whether all the cables are connected correctly.
13.Put the new Seicane head unit into the dash.
14. Put everything into their original place. All the installation is done.
Wish the above guide can be helpful for you to install a new 2009-2012 Hyundai H1 head unit. If you have any questions, it’s suggested to turn to your dealer for help. Before the installation, you need to make sure that you have a right head unit which fits your Hyundai H1 very well. Here I would like to share an up-to-date head unit from Seicane for you.
Equipped with Android 5.1.1 operation system and RK3188 1.6 GHz Cortex A9 quad-core processor, this intelligent 2009-2012 Hyundai H1 head unit will reveal its high performance when taking it on your all trips. The latest built-in 3D GPS navigation system provides you with lane assist route planning, turn-by-turn directions and voice prompts, which leads you anywhere you’d like to go. By easily linking with your bluetooth-enabled mobile phone, you can enjoy the hands-free calling convenience and music streaming pleasure on the way. Apart from practical functions, additional features are also offered to bring you joyfulness in your long trip.


Recent Comments