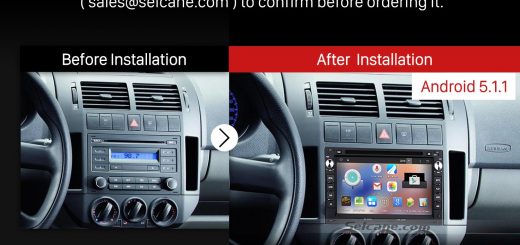
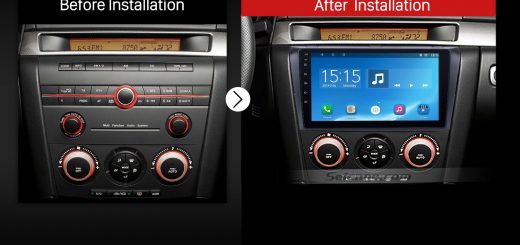
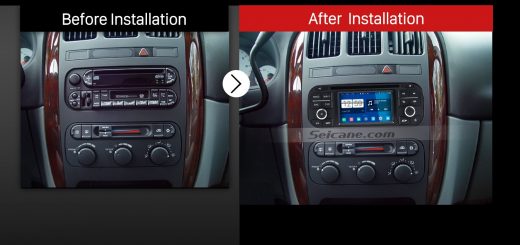
If you are tired of the single function of your factor radio, you can wisely replace it with a new aftermarket car stereo which can be compatible with a lot of modern features. If you don’t know how to install it, a detailed installation guide can be much helpful. I’d like to share a step-by-step 2005-2010 Skoda OCTAVIA II car stereo installation guide from Seicane with you.
Tips about the installation:
1.Please disconnect the power before the installation.
2.Please prepare a lever and a screwdriver before the removal and the installation.
3.Please keep all the separate parts from the car. Please take great care of the dashboard to avoid scratching it during its detachment and installation. Please keep handy any parts from the car and make use of all the original screws from the car as much as possible. so each related part of the unit can be fixed securely.
4.For your convenience, here’s the recommended tools for removal and installation from Seicane, please check for more details: http://www.seicane.com/car-dvd-dismantling-device-srd-400
2005-2010 Skoda OCTAVIA II car stereo installation guide
1. Remove the top panel with a lever.
2. Disconnect the connector at the back of the panel.
3. Unscrew the screw with a screwdriver.
4. Remove the metal sheet on the top with your hands.
5. Unscrew two screws circled in red shown as follows under the metal sheet.
6. Remove the air conditioner vent with your hands.
7. Unscrew two screws under the vent with a screwdriver.
8. Remove the panel on the original car radio.
9. Unscrew four screws holding the original car radio with a screwdriver.
10. Take the original car radio out of the dash.
11. Disconnect all the connectors at the back of the original car radio.
12. Check all the accessories for the new Seicane car stereo.
13. Connect the harnesses to the back of the new Seicane car stereo.
14. Connect the Seicane car stereo to your original car radio ‘s plugs.
15. Turn on the new Seicane car stereo to have a careful check if everything works well. If it doesn’t, please check whether all the cables are connected correctly.
16.Put the new Seicane car stereo into the dash.
17. Put everything into their original place.
Wish the detailed installation guide for a 2005-2010 Skoda OCTAVIA II car stereo can be helpful for you. If your dashboard is different from that shown in the guide above, please don’t worry, the installation is similar, and it won’t have much influence on the whole. For any questions, you can consult your dealer. If you don’t find a suitable stereo for your car, I’d like to recommend this amazing 2005-2010 Skoda OCTAVIA II car stereo from Seicane to you, please click for more details:
With this 2005-2010 Skoda OCTAVIA II car stereo in your car, your current location, 3D street view, landmark display, intelligent route planning, turn-by-turn direction and voice prompts can guide you to even hard-to-find location on time. Just reach your destination with this top 2005-2010 Skoda OCTAVIA II car stereo from now on!


Recent Comments