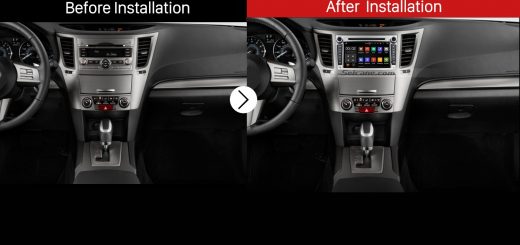
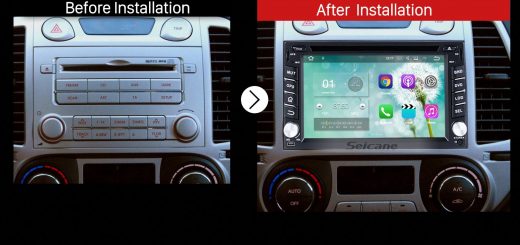
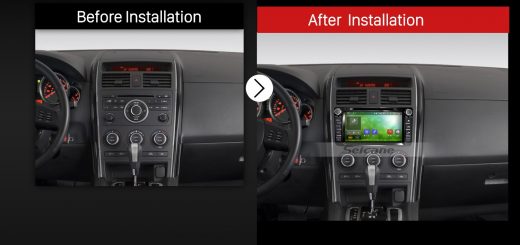
After possessing your car for a long time, you may think it is not with high performance than before. In this case, it is a wise choice for you to upgrade your factory radio so as to improve your in-car life quality. As a modern head unit is integrated with a wide range of practical and entertainment features, you can also upgrade your car performance in a large degree. This article is mainly introducing an easy installation guide for a 2012 Chevrolet CAPATIVA navigation audio system stereo. If you have a same or similar dashboard, you can read it carefully for helping with your installation.
Before and during installation, you should notice:
1.Before connecting, please make sure the ignition is off to avoid short circuit.
2.Ensure connect the yellow and red power cable at last.
3.Ensure that all loose wires are isolated with electrical tape
4.Ensure don’t tangle the wire when tighten the moving parts(Such as seat rails).
5.Ensure that all ground is connected to the same place.
6.Using the improper fuse may cause damage of fire, so when replace the fuse, please consult the professional.
7.For your convenience, here’s the recommended tools for removal and installation from Seicane, please check for more details: http://www.seicane.com/car-dvd-dismantling-devicesrd-400
2012 Chevrolet CAPATIVA head unit installation guide
1. Remove the original panel with a plastic knife, pry gently along the gap and pick up the panel, then remove it and then set it aside.

Remove the original panel with a plastic knife, pry gently along the gap and pick up the panel, then remove it and then set it aside
2. Remove screws that fixed the radio on the dashboard.
3. Pull the factory radio out of the dash. Pull it with medium force, as the wires are connected to the radio.

Pull the factory radio out of the dash. Pull it with medium force, as the wires are connected to the radio
4. Unplug the connectors at the back of the factory radio.
5. Make antennas and cables connected step by step, and you should be very careful when you are doing this for it will affect whole procedure.

Make antennas and cables connected step by step, and you should be very careful when you are doing this for it will affect whole procedure
6. Put the new Seicane radio into your car, you should check whether your connections are correct, and you’d better have a tidy for the cables.
7. If everything is OK, firm screws into their original place.
8. Firm the panel on the new Seicane radio. Finally the new Seicane radio is installed and a comprehensive test should be conducted on the new radio.

Firm the panel on the new Seicane radio. Finally the new Seicane radio is installed and a comprehensive test should be conducted on the new radio
That’s all about the 2012 Chevrolet CAPATIVA navigation audio system stereo installation steps. If you plan to replace your factory radio on your own, you can directly follow it step by step. If there is any question, it suggests you to turn to your dealer or a professional for help. Besides, it is necessary for you to check the compatibility between your head unit and your car. If you don’t have any ideas, I’d like to recommend an intelligent 2012 Chevrolet CAPATIVA navigation audio system stereo from Seicane to you. Please click the link below for more details:
This all-in-one Seicane 2012 Chevrolet CAPATIVA navigation audio system stereo is specially designed for your 2012 Chevrolet CAPATIVA. With keeping your hands on the steering wheel, you can dial, receive or reject hands-free calls as well as enjoy Bluetooth music from you phone music playlists when you make your enabled cell phone sync up with this head unit with the help of the Bluetooth module. Besides, by pressing the “GPS” button, you are able to make full use of its feature of text-to-speech so as to find the best route to arrive at your destinations. With you have a nice driving accompanied by this powerful head unit. Good luck to you!


Recent Comments