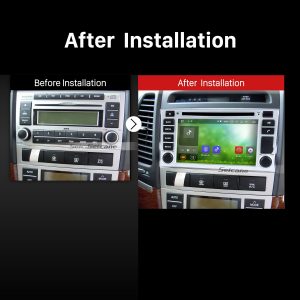
If you find your outdated factory radio is not compatible with many modern features, you can straightly quit it and replace it with a brand new one which can support a wide range of new features. If you are going to replace the radio by yourself, you can search online for a step-by-step installation guide to help you with the installation. The following is a remarkable 2006 2007 2008 2009 2010-2012 HYUNDAI SANTA FE car radio installation guide from Seicane. You can take it as a reference.
Before and during installation, you should notice:
1.Before connecting, please make sure the ignition is off to avoid short circuit.
2.Ensure connect the yellow and red power cable at last.
3.Ensure that all loose wires are isolated with electrical tape
4.Ensure don’t tangle the wire when tighten the moving parts(Such as seat rails).
5.Ensure that all ground is connected to the same place.
6.Using the improper fuse may cause damage of fire, so when replace the fuse, please consult the professional.
7.For your convenience, here’s the recommended tools for removal and installation from Seicane, please check for more details:http://www.seicane.com/car-dvd-dismantling-devicesrd-400
2006 2007 2008 2009 2010-2012 HYUNDAI SANTA FE car radio installation guide
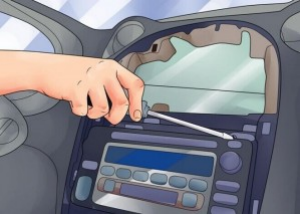
1.Remove the original panel with a plastic knife, pry gently along the gap and pick up the panel, then remove it and then set it aside.
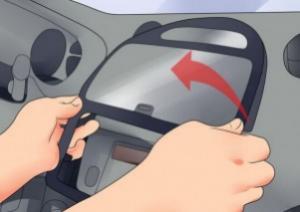
Remove the original panel with a plastic knife, pry gently along the gap and pick up the panel, then remove it and then set it aside
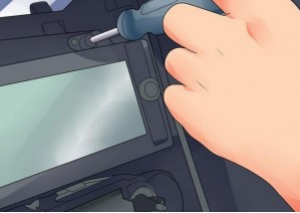
2.Remove screws that fixed the radio on the dashboard.
3.Pull the factory radio out of the dash. Pull it with medium force, as the wires are connected to the radio.
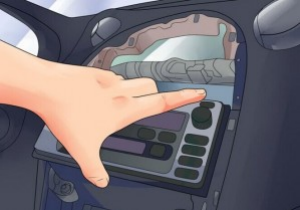
Pull the factory radio out of the dash. Pull it with medium force, as the wires are connected to the radio
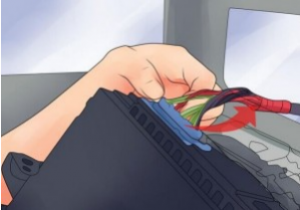
4.Unplug the connectors at the back of the factory radio.
5.Make antennas and cables connected step by step, and you should be very careful when you are doing this for it will affect whole procedure.
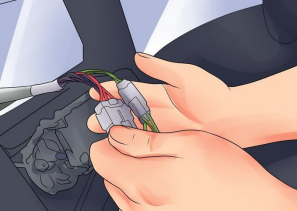
Make antennas and cables connected step by step, and you should be very careful when you are doing this for it will affect whole procedure
6.Put the new Seicane radio into your car, you should check whether your connections are correct, and you’d better have a tidy for the cables.
7.If everything is OK, firm screws into their original place.
8.Firm the panel on the new Seicane radio. Finally the new Seicane radio is installed and a comprehensive test should be conducted on the new radio.
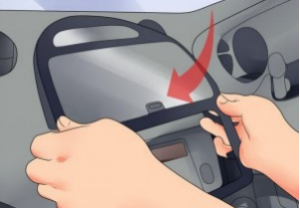
Firm the panel on the new Seicane radio. Finally the new Seicane radio is installed and a comprehensive test should be conducted on the new radio
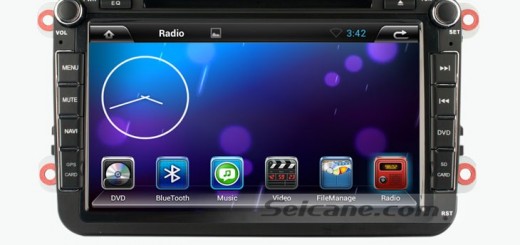
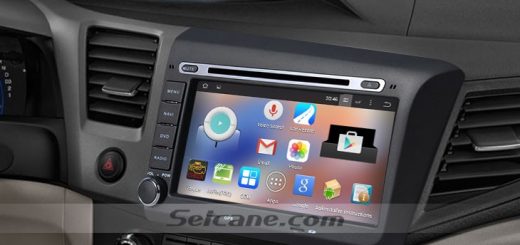
Please make clear every detailed step about the above installation instruction. If you have any problems, you can consult your dealer and seek advice from him. Or you can also ask a professional technician to help you finish the installation. Anyway, before the installation, it is particularly essential for you to check the compatibility between the car radio and your car. If you have no ideas, you might as well check out the following link which is an amazing 2006 2007 2008 2009 2010-2012 HYUNDAI SANTA FE car radio from Seicane.
With this car radio installed in your car, you will embrace a better driving experience than ever before.
Under the guidance of the turn-by-turn directions and voice prompts provided by the 3D GPS navigation system of high accuracy, you are able to identify the correct directions and find the best route to your ideal destinations. And with dual zone function, this unit enables you to listen to your favorite music while navigating and the music will automatically switch to GPS voice.
Besides, the additional entertainment features can also add a lot of fun to your trip.
Wish you like this unit and good luck to you!

Recent Comments