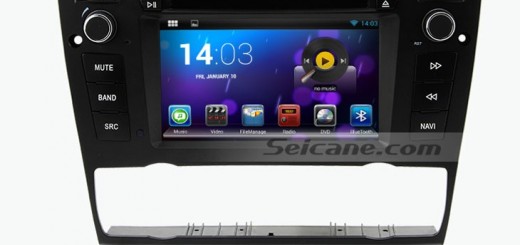
For some people, they consider lots of information when buying a car, and the audio system is one of the important factors. It’s true that a good car audio system not only adds fun to our trips, but helps increase driving safety. So what should be a good audio?
Firstly, it should be able to provide basic functions including music playing, radio listening. Next, it’s designed with large size touchscreen so that we can operate it easily and check information conveniently. The most important is it can support car cameras such as DVR, rear view camera etc. to help us drive safer on the road. What’s more, some audio systems are phone integrated, for example, Carplay or Android Auto gives us the ability to use phone applications on the audio display, being a best way to use phone when driving safe. Obviously, we need an easy-to-use and multifunctional car audio system. If there is not such an audio in your car, you are recommended to replace the original one with an aftermarket stereo. Most of time, you can do the replacement yourself.
A guide to install new stereo system in my BMW 3 Series
Last month, I purchased a Seicane Android car radio for my BMW 3 Series, and installed it to the dashboard by myself. The following are the steps about removal and installation. Hope it’s useful for you.
| Tools: Plastic pry tools, screwdrivers.
Note: Ensure the car power is off before removal and installation. |
Take a look at the original audio system.
Step 1, Removing the air conditioning vent: Use the plastic pry tool to pry the A/C vent, take it down and disconnect the plugs.
Step 2, Remove these two screws that fixed the original audio screen, take down the screen and unplug the connector.
Step 3, Remove screws that fixed the CD button panel, take down the panel and unplug the connector.
Step 4, Remove screws that fixed the original CD unit, take down the unit and unplug the connectors.
Step 5, Check the wiring harness and other accessories of Seicane touchscreen audio system.
Step 6, Connect the new audio screen and original CD unit with the new wiring harness. You’d better check the user manual of the new audio screen if you are not sure the cable interfaces.
Step 7, Turn on the car to test whether the new audio works normally. If there is no problem, install all the accessories back. If it doesn’t work, carefully check whether cables are connected correctly.
Actually, I just upgraded the radio screen in my BMW. The Seicane radio screen for BMW comes with large size of 10.25”, very exquisite and easy to use. It’s also very easy to install. All original car functions are kept as before, while the new screen offers a better viewing experience, especially when use navigation and watch videos.


Recent Comments